POSTURE CLINIC: VASHISTASANA B
If I had to pick a favourite yoga pose, one that was a little bit fancy but also feels amazing in body, mind and spirit, it would be this. To me, Vashistasana B is the perfect blend of strength, balance and flexibility: in it, I feel steady, poised, focused and, well, just totally alive and present. That said, I’m only too aware that not every student enjoys this pose: shoulder issues, hamstring tightness and limited external hip rotation can all inhibit strength and motion here. These are my top tips and drills to gaining ease in Vashistasana B.

Supta Padangusthasana
This pose stretches the hips, hamstrings, calves, groin and thighs. Lie on your back, wrap a yoga strap (or whatever you have that resembles one: belt, towel, scarf, get creative!) around the ball of the right foot, then extend the leg towards the sky, straightening it as much as you can. Press up through the heel of the foot and curl the toes towards you to encourage length through the back of the leg. Hold for 5-10 deep breaths, then switch sides.
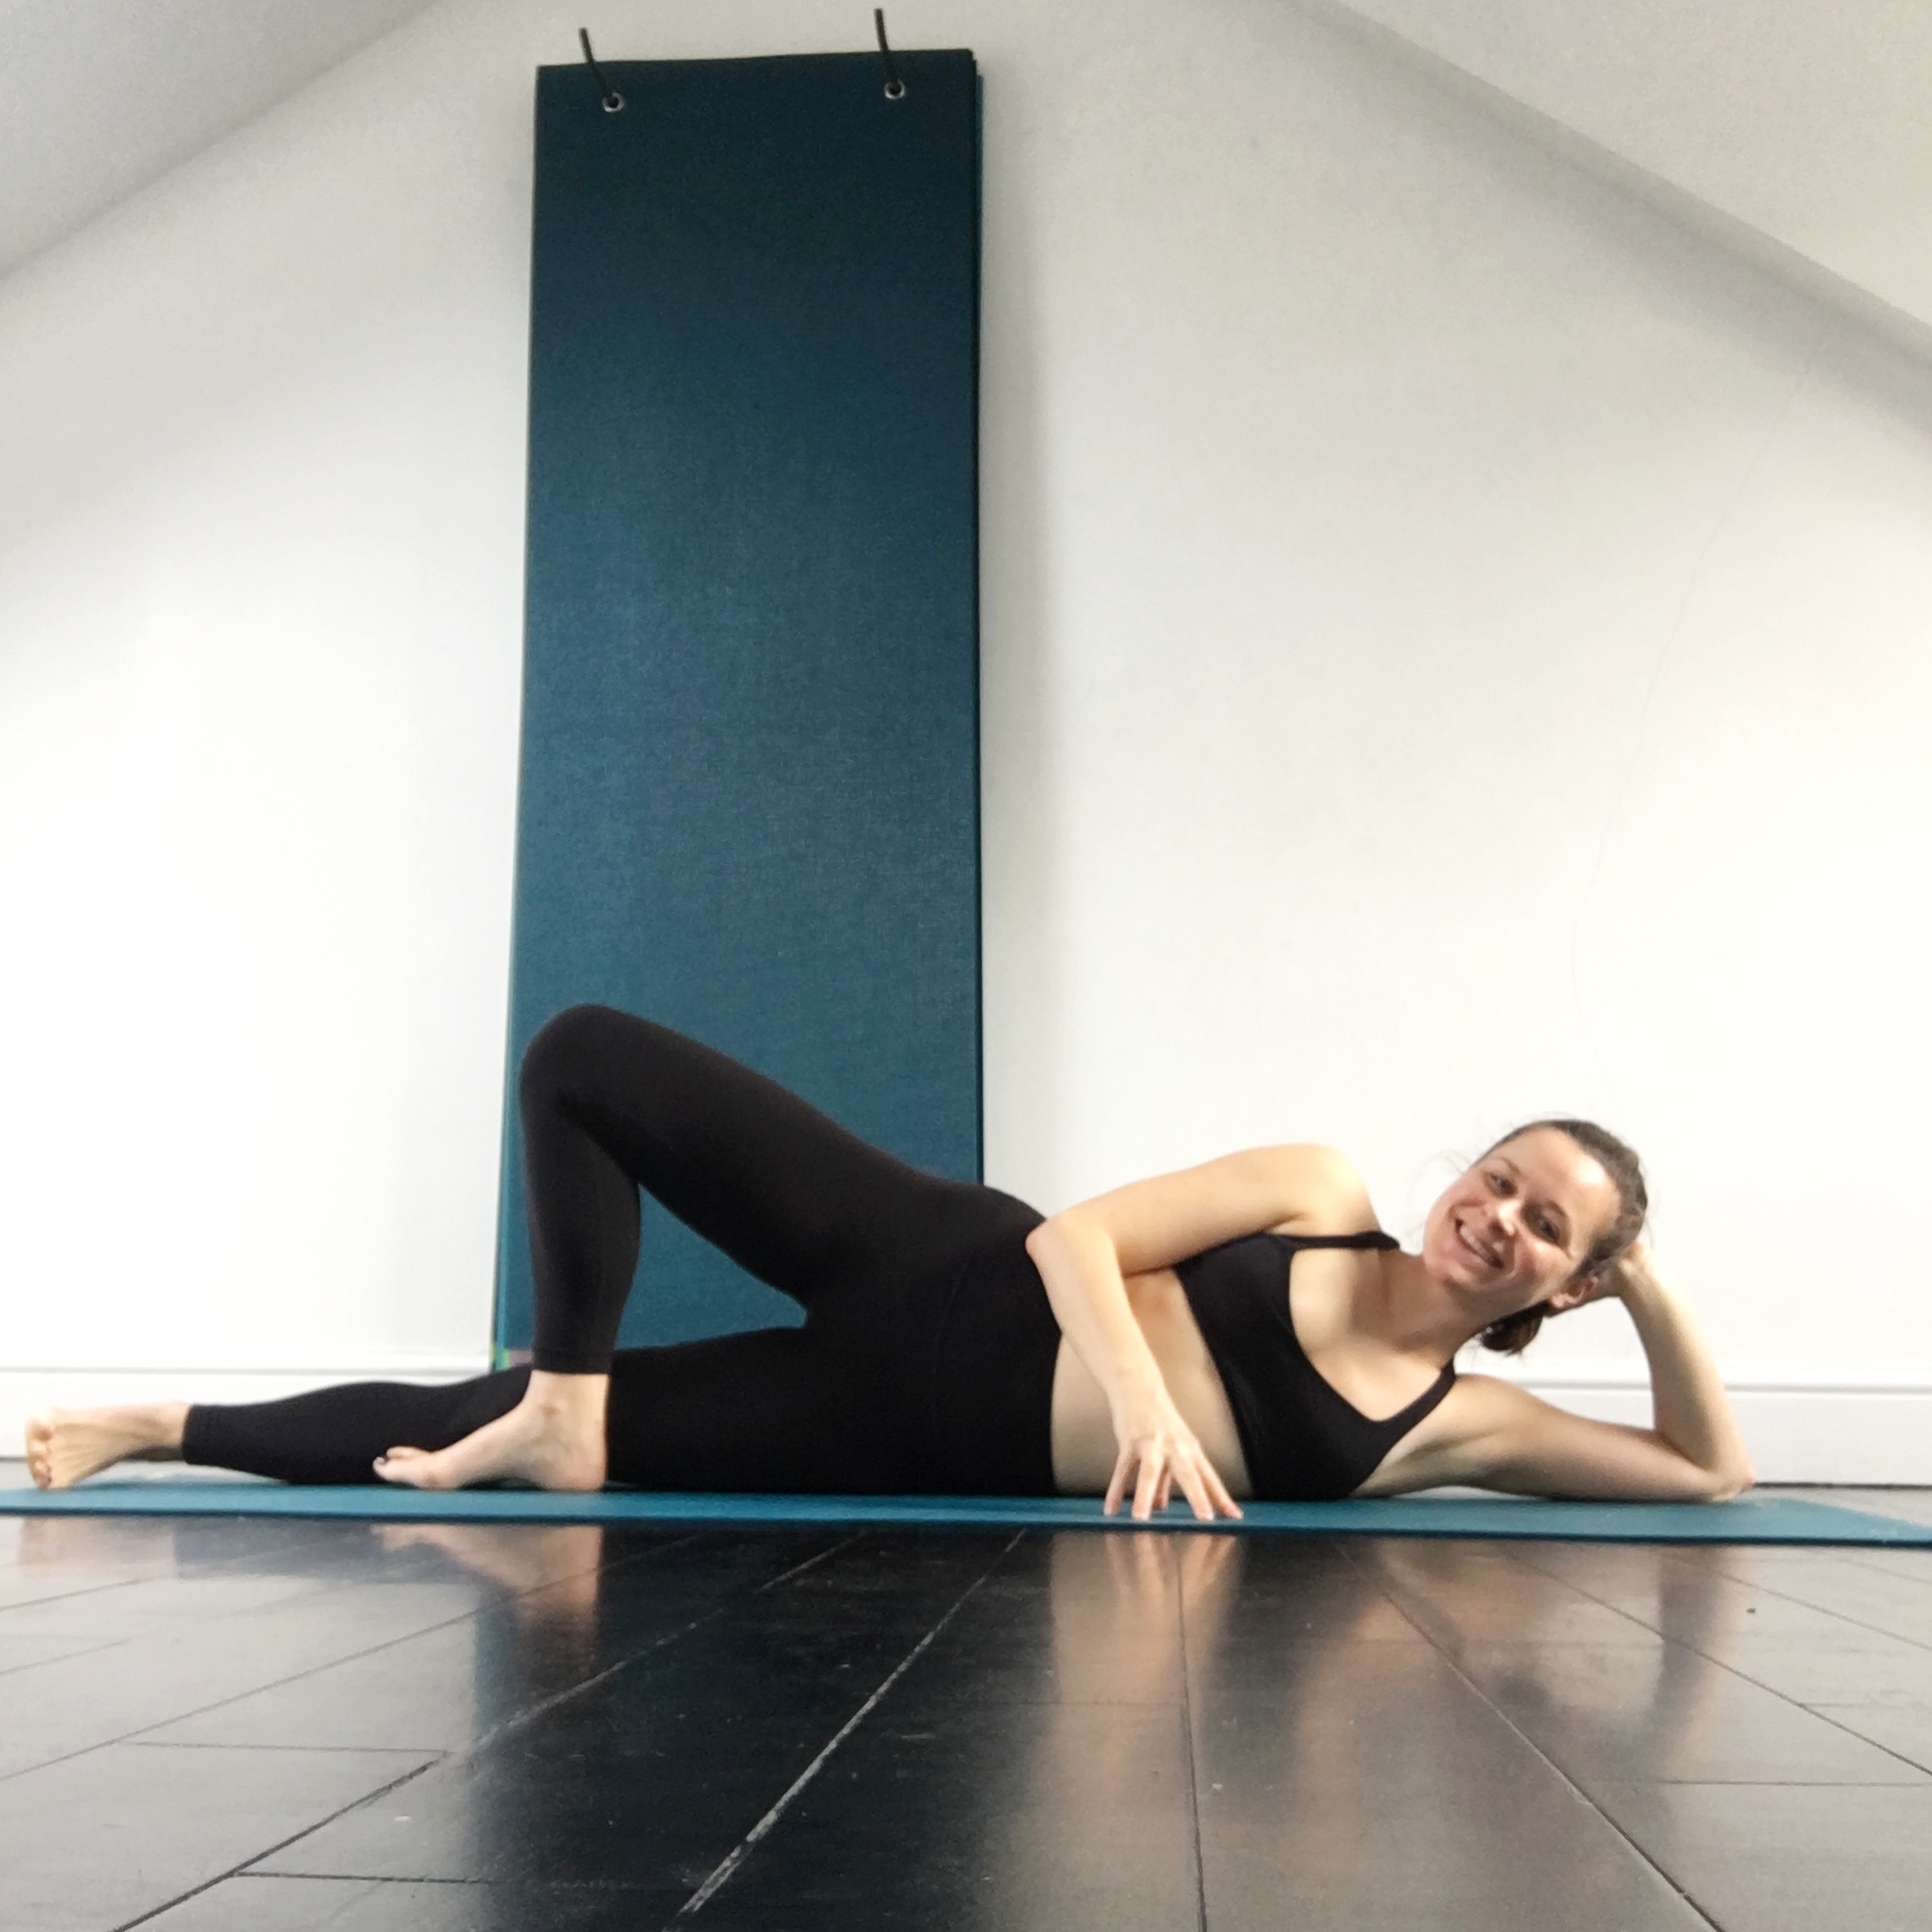
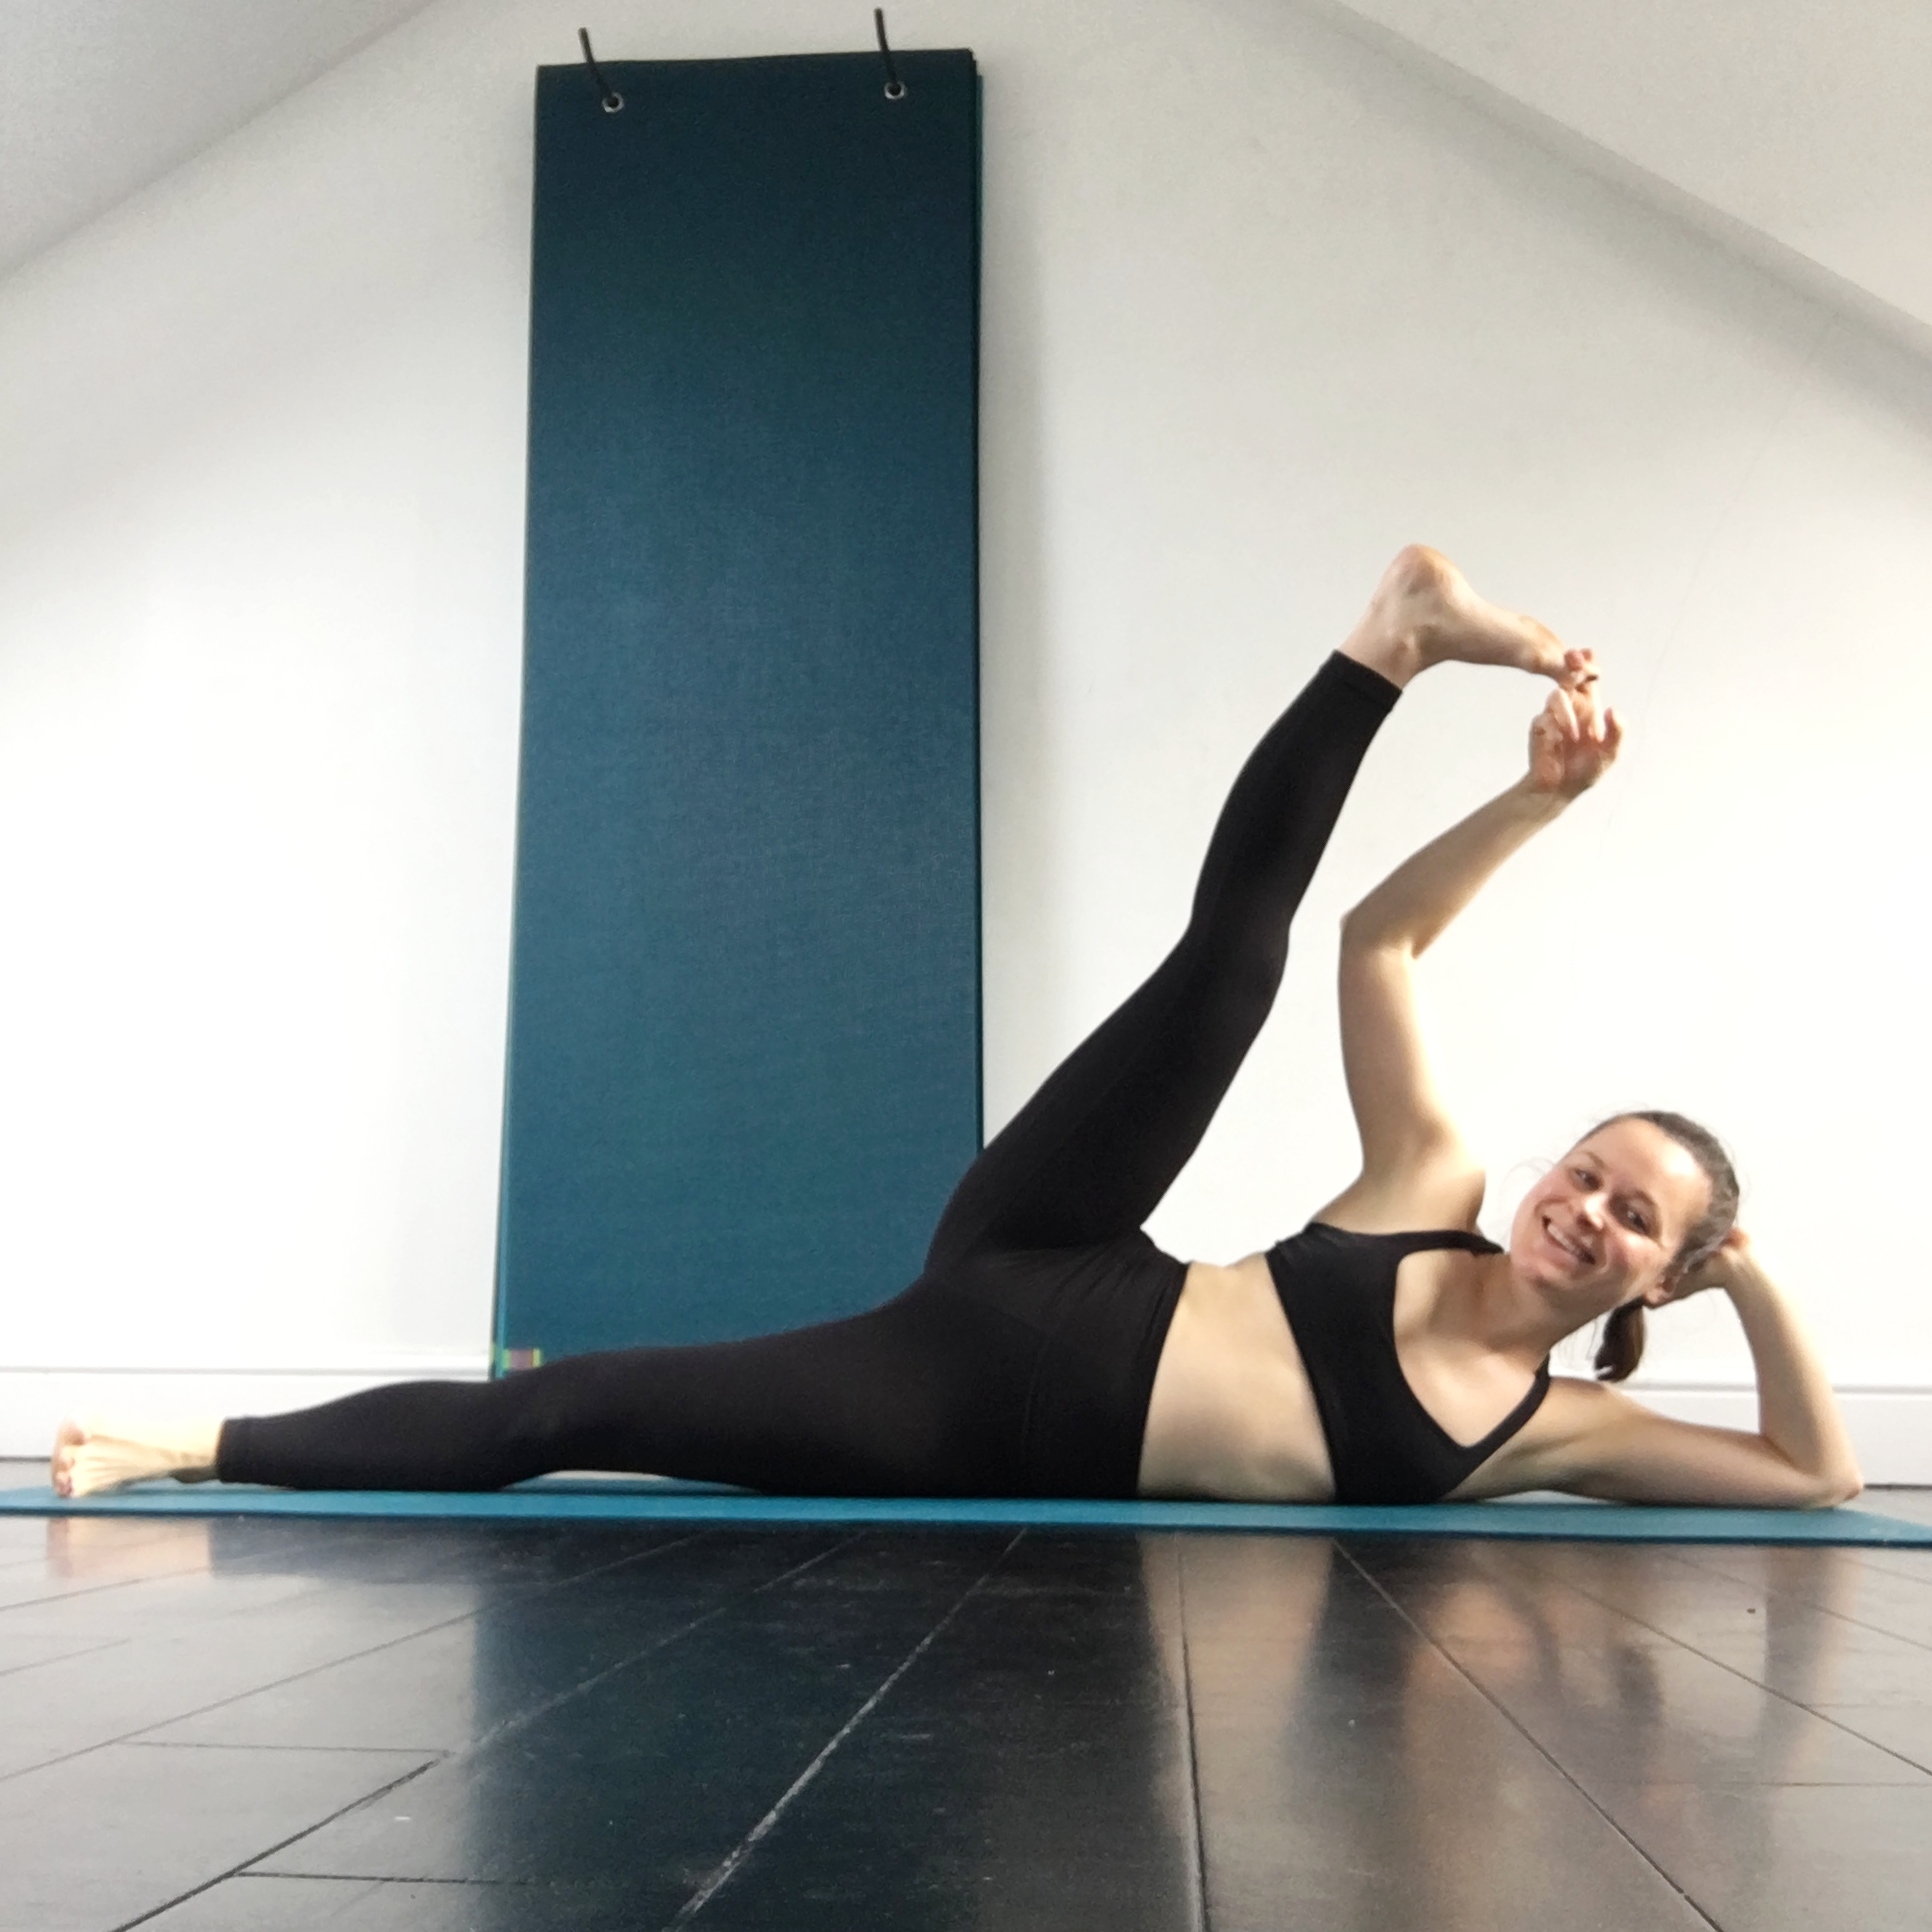
Anantasana
This poses stretches the side body and legs, prepares the hips for external rotation and engages the low belly to stabilise. First, lie on your right side, bend your left leg and place the left foot in front of the right thigh. Lengthening your tailbone towards your foot and lift the front of your hips to engage your core. Hold for 5-10 breaths, then extend the left leg skywards and see if you can catch hold of the foot. If you can’t, make friends with that trusty strap! Hold for a further 5-10 breaths and repeat on the second side.

Modified Side Plank
Come to a tabletop position (feel free to do a few rounds of cat-cow here to mobilise the shoulder joint). Walk the hands forward an inch so they’re just in front of the shoulders, then extend the right leg out behind you. Stack the right hip on top of the left, and ground the right foot behind the left. Next, move the left shin out to the left to create a stable base (see pic, as this one is tricky to cue, even harder to write, but really easy to do!), and reach up through the right arm. Basically, you’re in side plank with the bottom knee down for support. (Note: Why didn’t I just write that?) Hold for 5 breaths each side.

Knee To Elbow Taps
From modified side plank, elevate the top leg, and see if you can tap the top elbow and knee together. Repeat five times each side. This is a great way to fire on the obliques and mobilise the side body.
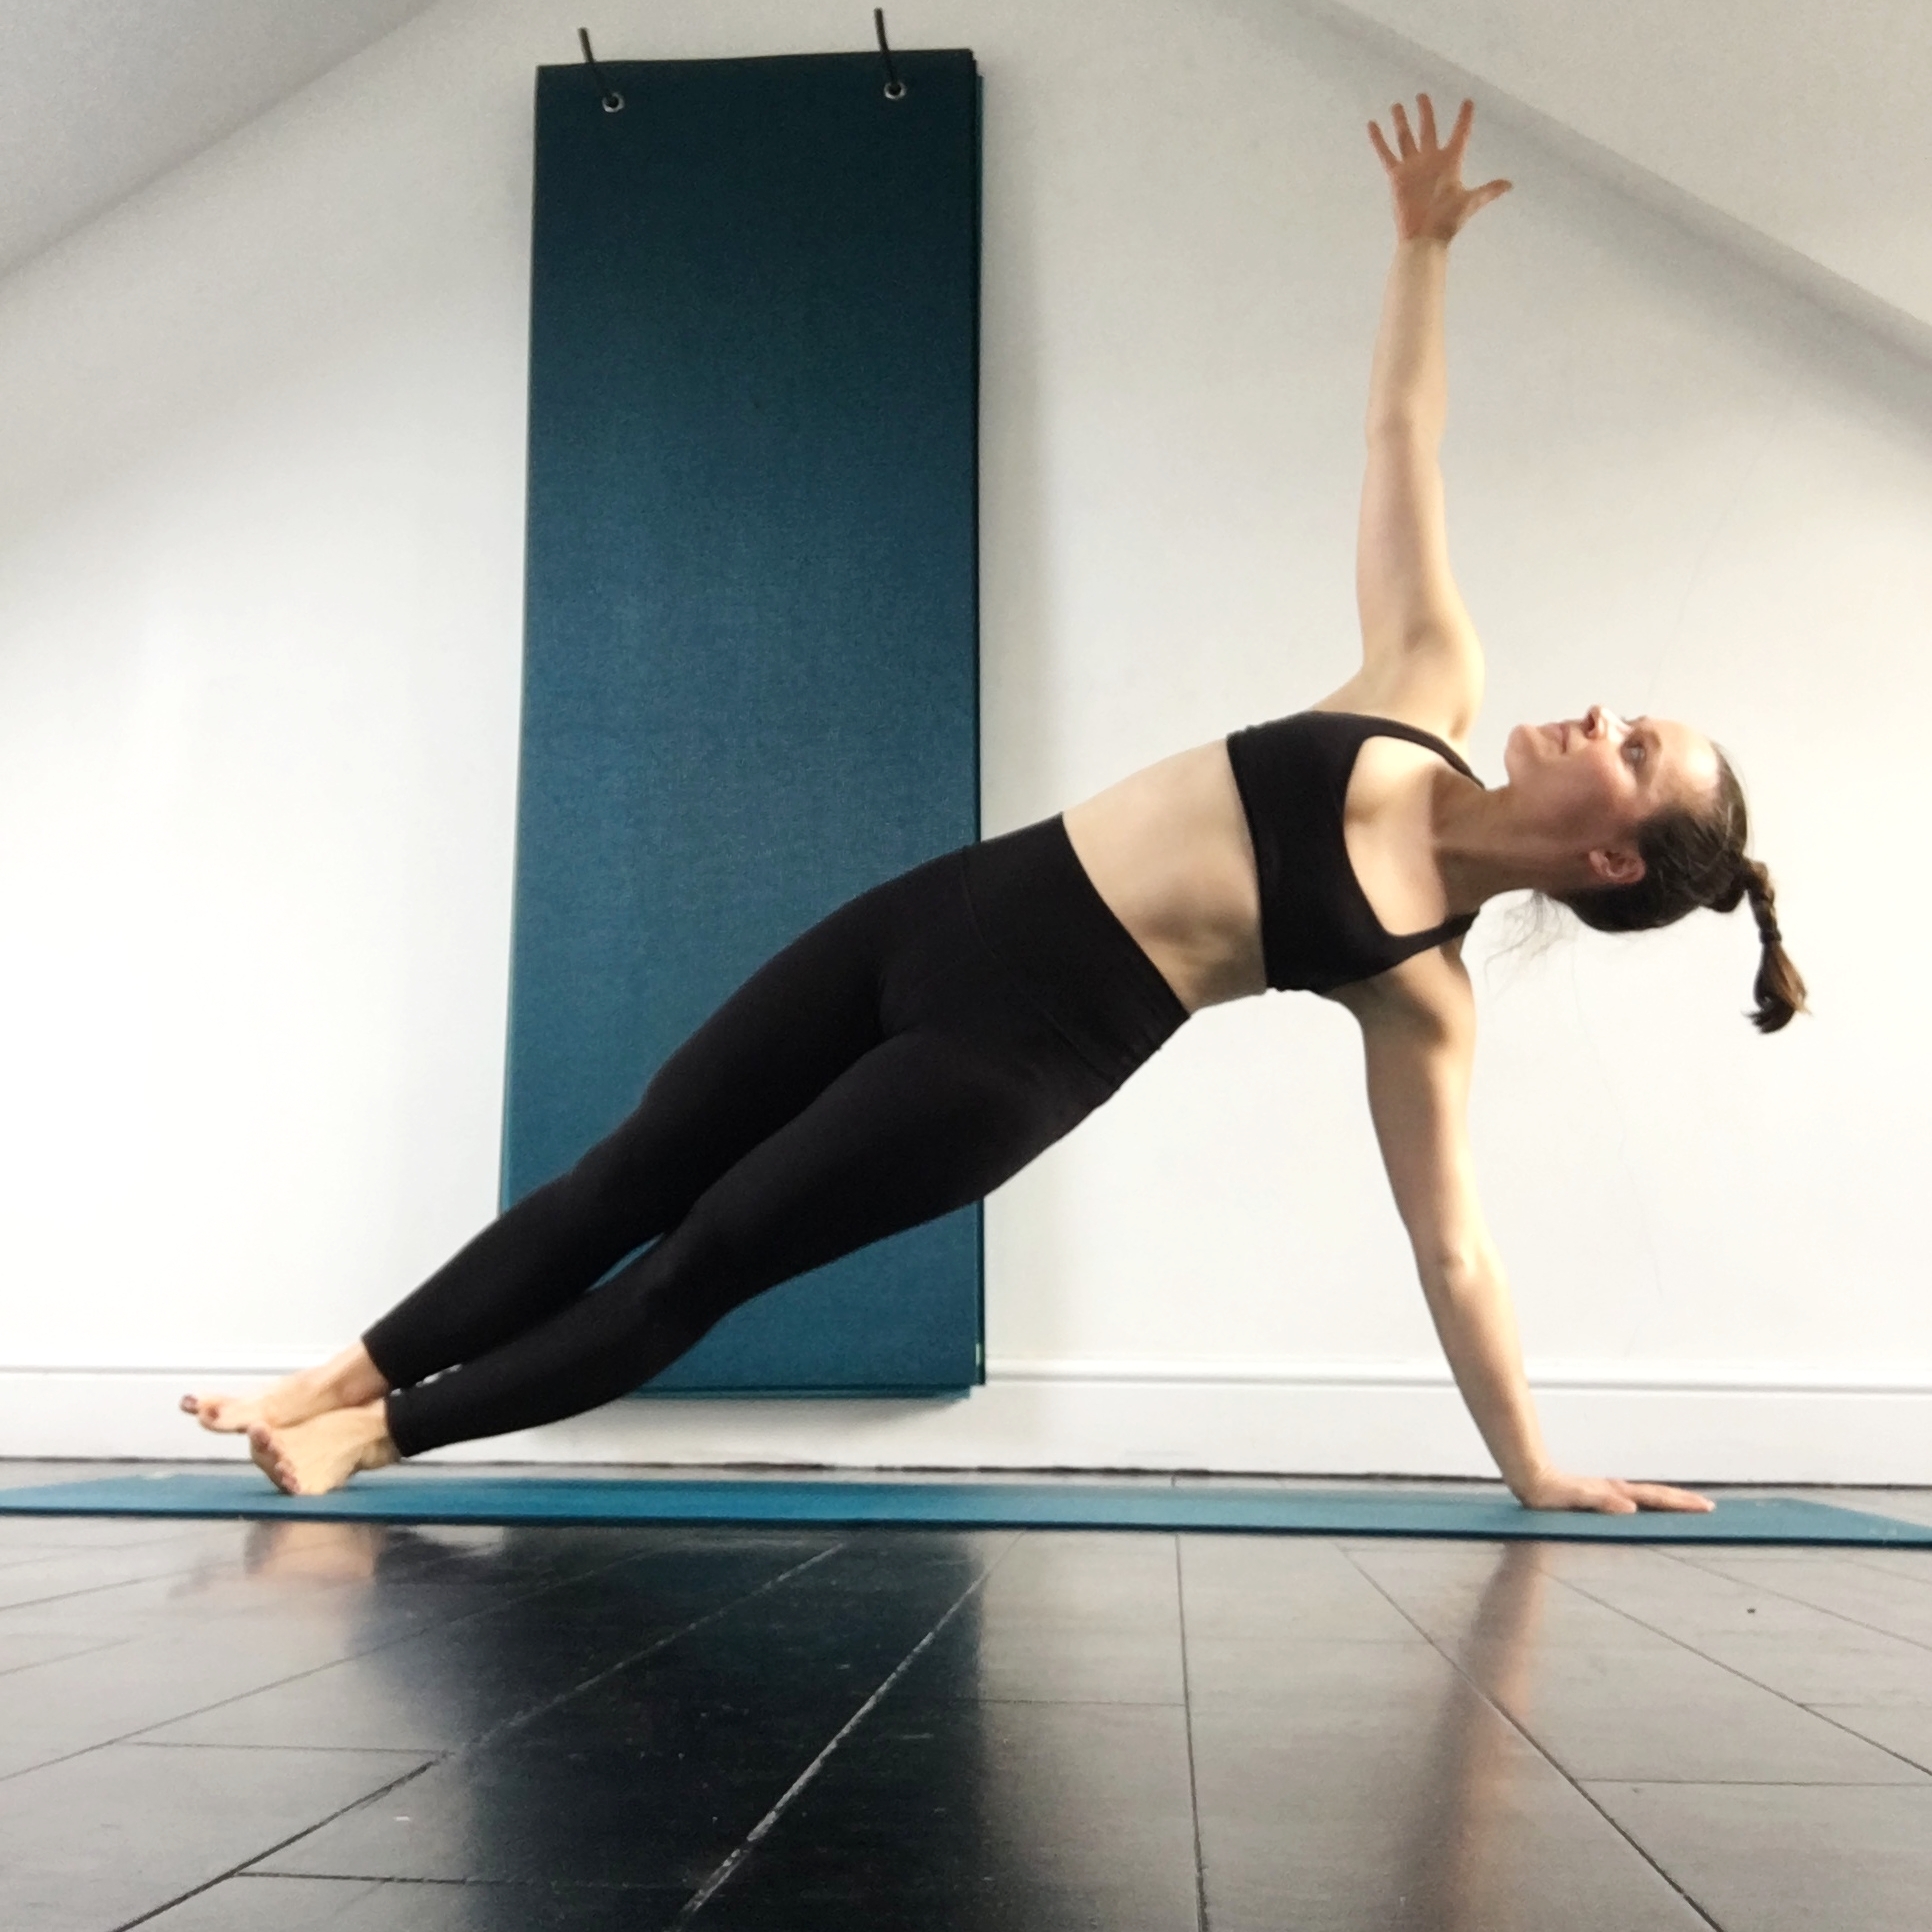
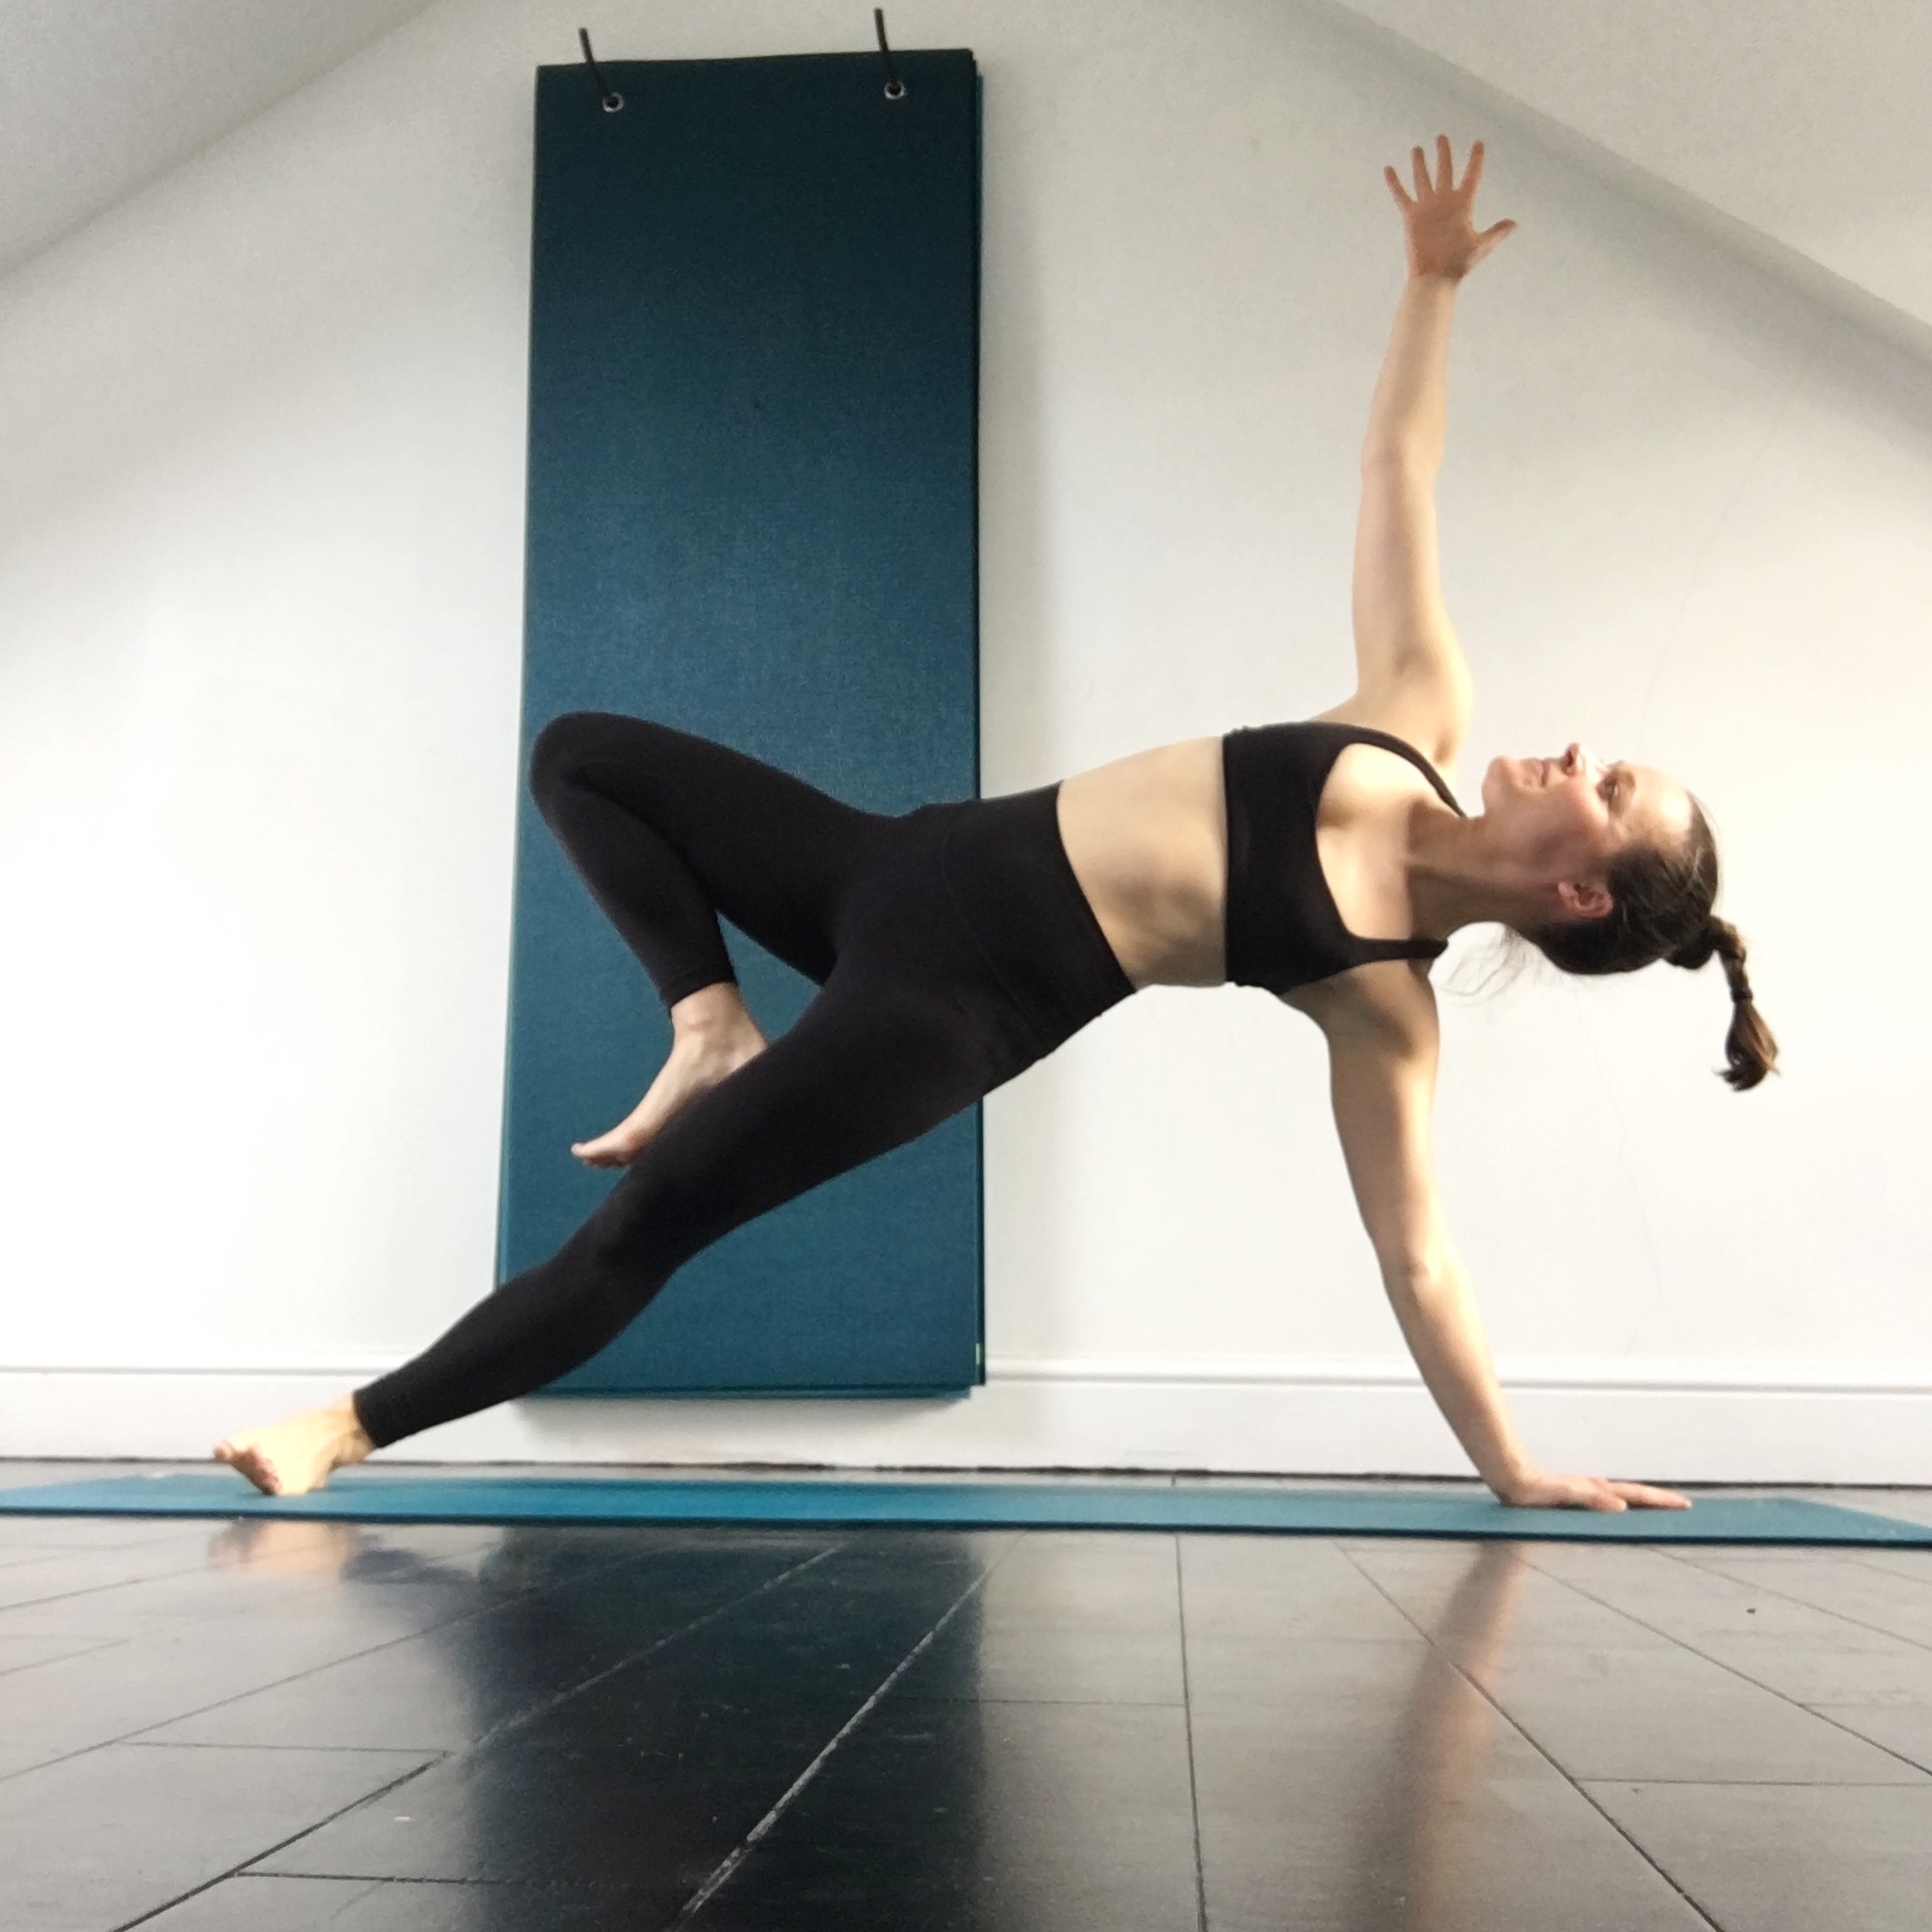
Vashistasana and beyond!
OK, now we’re ready to start exploring side plank, aka Vashistasana, and its variations. From plank, place the right hand in the centre of your mat, just in front of your face. Moving the hand forward slightly brings the shoulder into a far safer position for bearing weight. Next, roll onto the outside edge of the right foot. Stay here until you can comfortably hold for 5 breaths. Once you feel strong in regular Vashistasana, it’s time to play with leg variations. For Vashistasana with a tree leg, simply bend the top knee and place the foot either above or below the knee, then work on opening up the hip. If that feels good, let’s go for that toe! Bend the top leg towards you and catch the big toe with the index finger, middle finger and thumb, then work towards straightening the leg. Resist the pull of gravity and push the ground away from you: root down through the supporting hand and foot (pressing the sole of the foot into the mat if you can), draw the lower shoulder blade down and away from the neck, then lift those hips. Keep your gaze steady on a fixed point, and your breath even. Hold for 5 breaths, repeat second side, then take a very well earned child’s pose.
